After three years of scuba diving mainly in Scotland, The Boy and I decided it was time to treat ourselves to a diving holiday in warmer water where we didn't need to wear a drysuit. In November, we had the opportunity to go diving in the Red Sea on the Tiger Lily live-aboard boat. The trip was organised by Martin at Ace Divers (web site http://acedivers.co.uk/) through Flowers of Sinai. We flew to Sharm El Sheikh and had a short mini-bus ride from there to the harbour where the Tiger Lily was waiting for us.

We were scheduled to do four dives each day: one before breakfast, two during the day and a night dive. The first thing I noticed was that, diving in a wetsuit, I felt almost liberated - no drysuit, no thermals, no drysuit hose, no hood, no gloves. I felt like I had forgotten something when I was kitted up, waiting to do my giant stride into the water, but I had everything I needed. The second thing I noticed was the almost endless visibility. It felt like I could see for miles in clear, blue, warm ocean. Bliss!
Tiger Lily visited a few sites in the vicinity of Sharm El Sheikh (in the red box around Sharm below):
 We started at a couple of dive sites near Sharm El Sheikh, namely Ras Katy and Ras Umm Sid, then headed towards the Gulf of Aqaba and dived the four reefs - Jackson, Gordon, Thomas and Woodhouse - in the Strait of Tiran.
There was an incredible amount to see. The aquatic life was phenomenal - rays, giant moray eels, puffer fish, squid, cuttlefish, lionfish (which freaked me out on night dives as they are attracted by the light from your torch) and all sorts of other fish from the tiniest Anthea fish to huge Groupers and Barracuda.

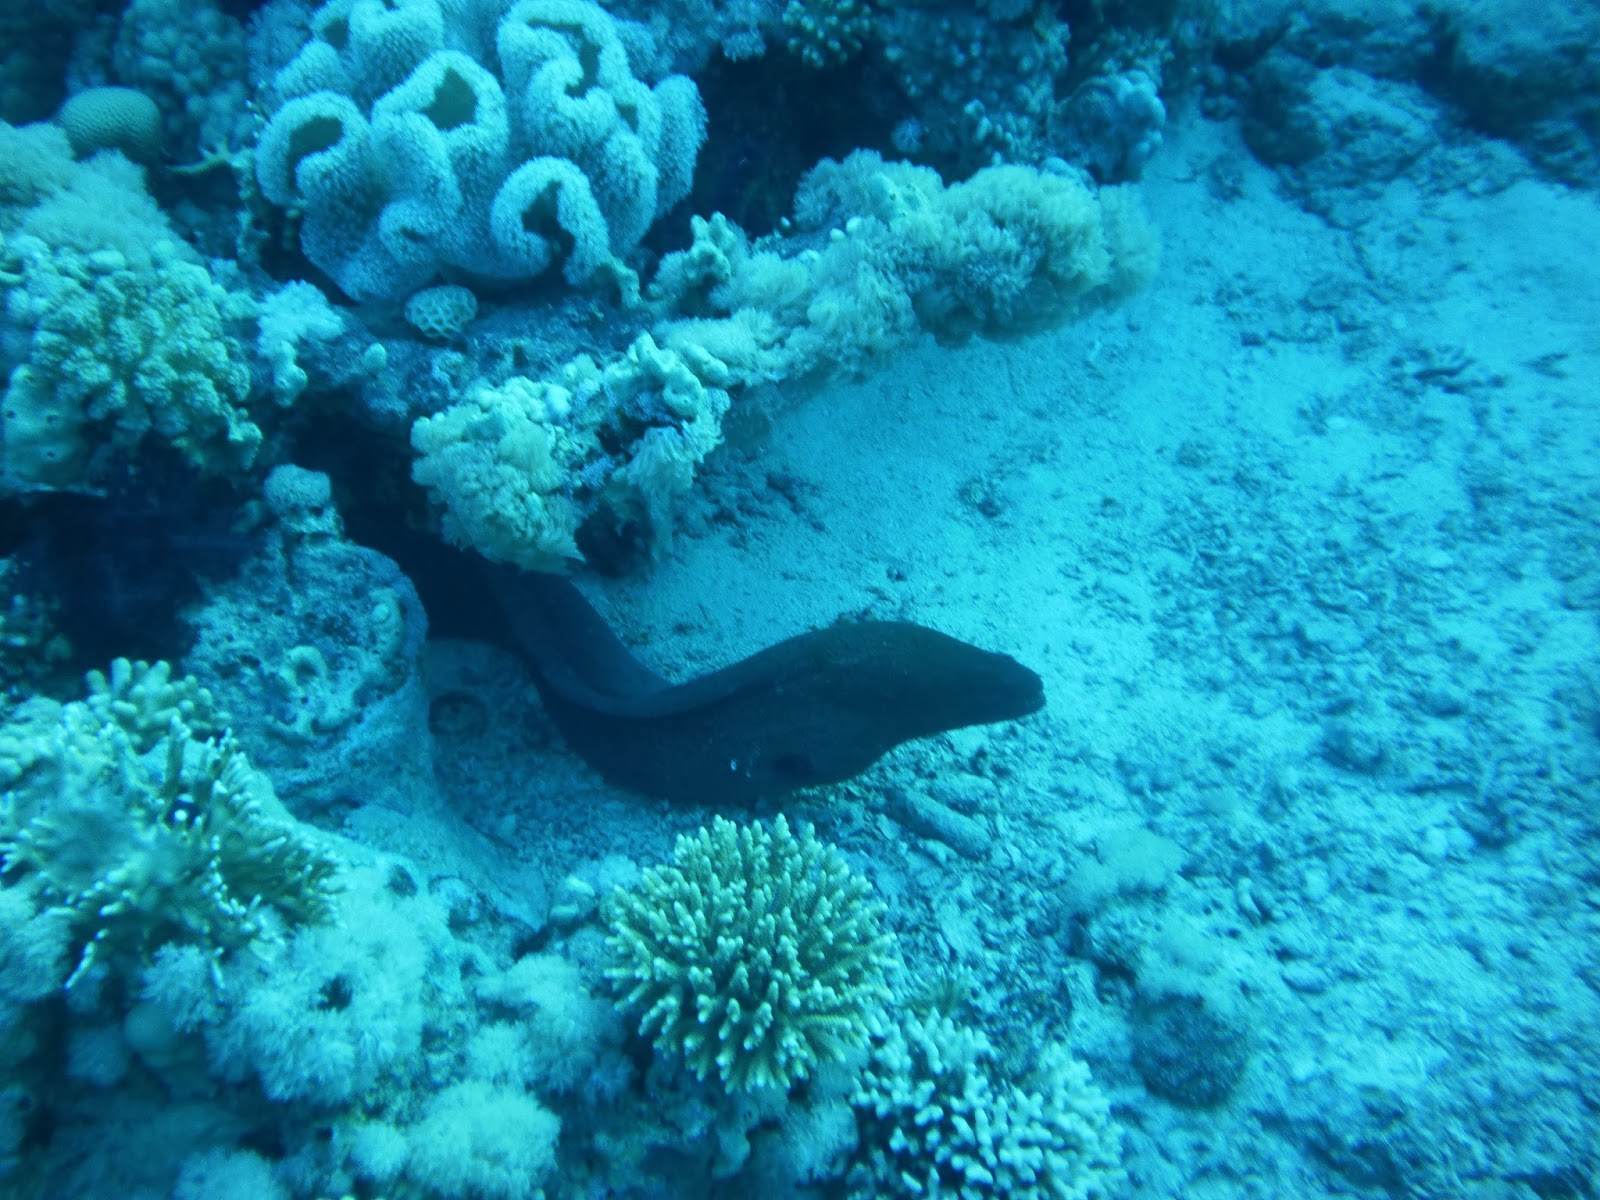
Here's giant Moray eel coming out of it's hiding place for a look around:


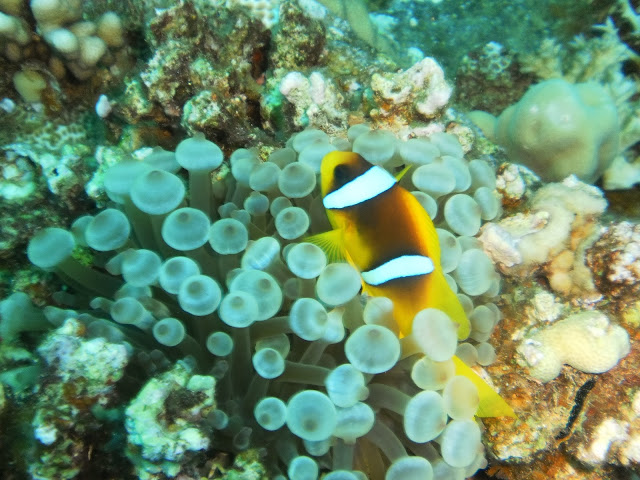
I was delighted to find that Nemo and his relatives (aka Anemone Fish or Clown Fish) are alive and well and thriving in the Red Sea. We first encountered them on Jackson Reef:

After the reefs in the Strait of Tiran we headed back towards Sharm to reach the Ras Mohammed National Park, stopping at Temple for a night dive on the way. We met our first cuttlefish there. We started the next day with a dive around Shark and Yolanda reefs which have some ship wreckage scattered around them. That marked the start of our wreck dives.
The first wreck was the Dunraven where The Boy managed to drop his GoPro. Thankfully he managed to find it again so no harm done. Next we dived the Marcus which has a cargo of Italian tiles. We finished the day with a night dive around Sha'ab Abu Nuhas reef. It was The Boy's 300th dive and a little squid made it memorable by panicking and taking off like a rocket, inking all the way.
We had a full day of wrecks the following day - the Carnatic, the Ghiannis D, the Ulysses and the Barge at Gobal Island for our night dive. We had our first distant sighting of dophins at Gobal Island. Some of the wrecks were absolutely full of fish. Believe it or not, The Boy is at the other side of this wall of Glassfish. If you look hard you can just see part of his mask:


The next morning, our pre-breakfast dive was around Bluff Point. We were taking our time, waking up gently when, all of a sudden, something big started to appear in the distance...... and we all got excited when we realised it was a pod of dolphins:

I was too excited to get decent photos but The Boy managed to film them. They appeared from nowhere, swam around us for a couple of minutes then vanished into the blue. Amazing! That's me with the bright pink fins in the video.
Below is the view we had from the rib on our way back to Tiger Lily from a late afternoon dive with the sun setting on the Loullia wreck. We had been diving at the opposite side of Gordon Reef.

We dived the wrecks of the Kingston and the Thistlegorm on our way back to Sharm. The Thistlegorm is a very big wreck and we did three dives on her as there is so much to see. Our very last dive was at Small Crack, for which we discarded out wetsuits for a team photo (which I will add when I find it). We said goodbye to all our new friends, including this ray:

All in all, a wonderful holiday and an awesome experience. The crew on Tiger Lily were fantastic and looked after us all really well, especially Kareem, our scuba diving guide for the week. Thanks for a great time.
As a wee p.s., I read a book for the second time after my trip to the Red Sea, not something I do often but it had a lot more meaning for me after visiting the Red Sea. The Boy reminded me about it on the flight home. It used to only be available in Kindle format but is now available in print for those who prefer it. It's an enlightening read. It's called Lost Wife, Saw Barracuda by John Kean.

We were scheduled to do four dives each day: one before breakfast, two during the day and a night dive. The first thing I noticed was that, diving in a wetsuit, I felt almost liberated - no drysuit, no thermals, no drysuit hose, no hood, no gloves. I felt like I had forgotten something when I was kitted up, waiting to do my giant stride into the water, but I had everything I needed. The second thing I noticed was the almost endless visibility. It felt like I could see for miles in clear, blue, warm ocean. Bliss!
Tiger Lily visited a few sites in the vicinity of Sharm El Sheikh (in the red box around Sharm below):

There was an incredible amount to see. The aquatic life was phenomenal - rays, giant moray eels, puffer fish, squid, cuttlefish, lionfish (which freaked me out on night dives as they are attracted by the light from your torch) and all sorts of other fish from the tiniest Anthea fish to huge Groupers and Barracuda.

Here's giant Moray eel coming out of it's hiding place for a look around:

I was delighted to find that Nemo and his relatives (aka Anemone Fish or Clown Fish) are alive and well and thriving in the Red Sea. We first encountered them on Jackson Reef:


After the reefs in the Strait of Tiran we headed back towards Sharm to reach the Ras Mohammed National Park, stopping at Temple for a night dive on the way. We met our first cuttlefish there. We started the next day with a dive around Shark and Yolanda reefs which have some ship wreckage scattered around them. That marked the start of our wreck dives.
The first wreck was the Dunraven where The Boy managed to drop his GoPro. Thankfully he managed to find it again so no harm done. Next we dived the Marcus which has a cargo of Italian tiles. We finished the day with a night dive around Sha'ab Abu Nuhas reef. It was The Boy's 300th dive and a little squid made it memorable by panicking and taking off like a rocket, inking all the way.
We had a full day of wrecks the following day - the Carnatic, the Ghiannis D, the Ulysses and the Barge at Gobal Island for our night dive. We had our first distant sighting of dophins at Gobal Island. Some of the wrecks were absolutely full of fish. Believe it or not, The Boy is at the other side of this wall of Glassfish. If you look hard you can just see part of his mask:

The wall opens up and there he is:


I was too excited to get decent photos but The Boy managed to film them. They appeared from nowhere, swam around us for a couple of minutes then vanished into the blue. Amazing! That's me with the bright pink fins in the video.
Below is the view we had from the rib on our way back to Tiger Lily from a late afternoon dive with the sun setting on the Loullia wreck. We had been diving at the opposite side of Gordon Reef.

We dived the wrecks of the Kingston and the Thistlegorm on our way back to Sharm. The Thistlegorm is a very big wreck and we did three dives on her as there is so much to see. Our very last dive was at Small Crack, for which we discarded out wetsuits for a team photo (which I will add when I find it). We said goodbye to all our new friends, including this ray:

All in all, a wonderful holiday and an awesome experience. The crew on Tiger Lily were fantastic and looked after us all really well, especially Kareem, our scuba diving guide for the week. Thanks for a great time.
As a wee p.s., I read a book for the second time after my trip to the Red Sea, not something I do often but it had a lot more meaning for me after visiting the Red Sea. The Boy reminded me about it on the flight home. It used to only be available in Kindle format but is now available in print for those who prefer it. It's an enlightening read. It's called Lost Wife, Saw Barracuda by John Kean.


